Showing posts with label nails. Show all posts

Friday, 3 January 2014

Review + Swatches | Ciaté Caviar Manicure Luxe


Ciaté are the people I consider to be the original "Caviar" nail people. Not the most well put together sentence, but you see what I mean! My lovely mum bought this kit for me, which is a luxe twist on the original caviar manicure. This kit is in the shade "gleam" which is a gorgeous, slightly rose, gold colour.


The kit comes with a nail polish, beads, a how-to booklet and a small gold funnel that helps you return any unused beads back into the container. Ciaté most definitely succeed in adding a very luxurious feel to this kit. The bottles are glass and are very sturdy. I love the packaging, the bottle are so pretty they could even be used as decoration in my opinion.

The quality of the nail polish is lovely. It applies like liquid gold and has gorgeous, smooth consistency.  Two coats of this polish is all you need for a flawless opaque look. The beads are also easy to apply as you can just pour them over the nail and carefully press them on. Apply some topcoat for longer wear time.

 Overall this is a great product and would make a lovely gift for anyone. The beads can be a bit of a hassle as they gradually fall off but it's a nice look for a special occasion. This is by no means a necessity product, but if you're looking for a little piece of luxury, this is great!

Ciaté caviar manicure luxe €21.92 from ASOS


post signature

Sunday, 11 August 2013

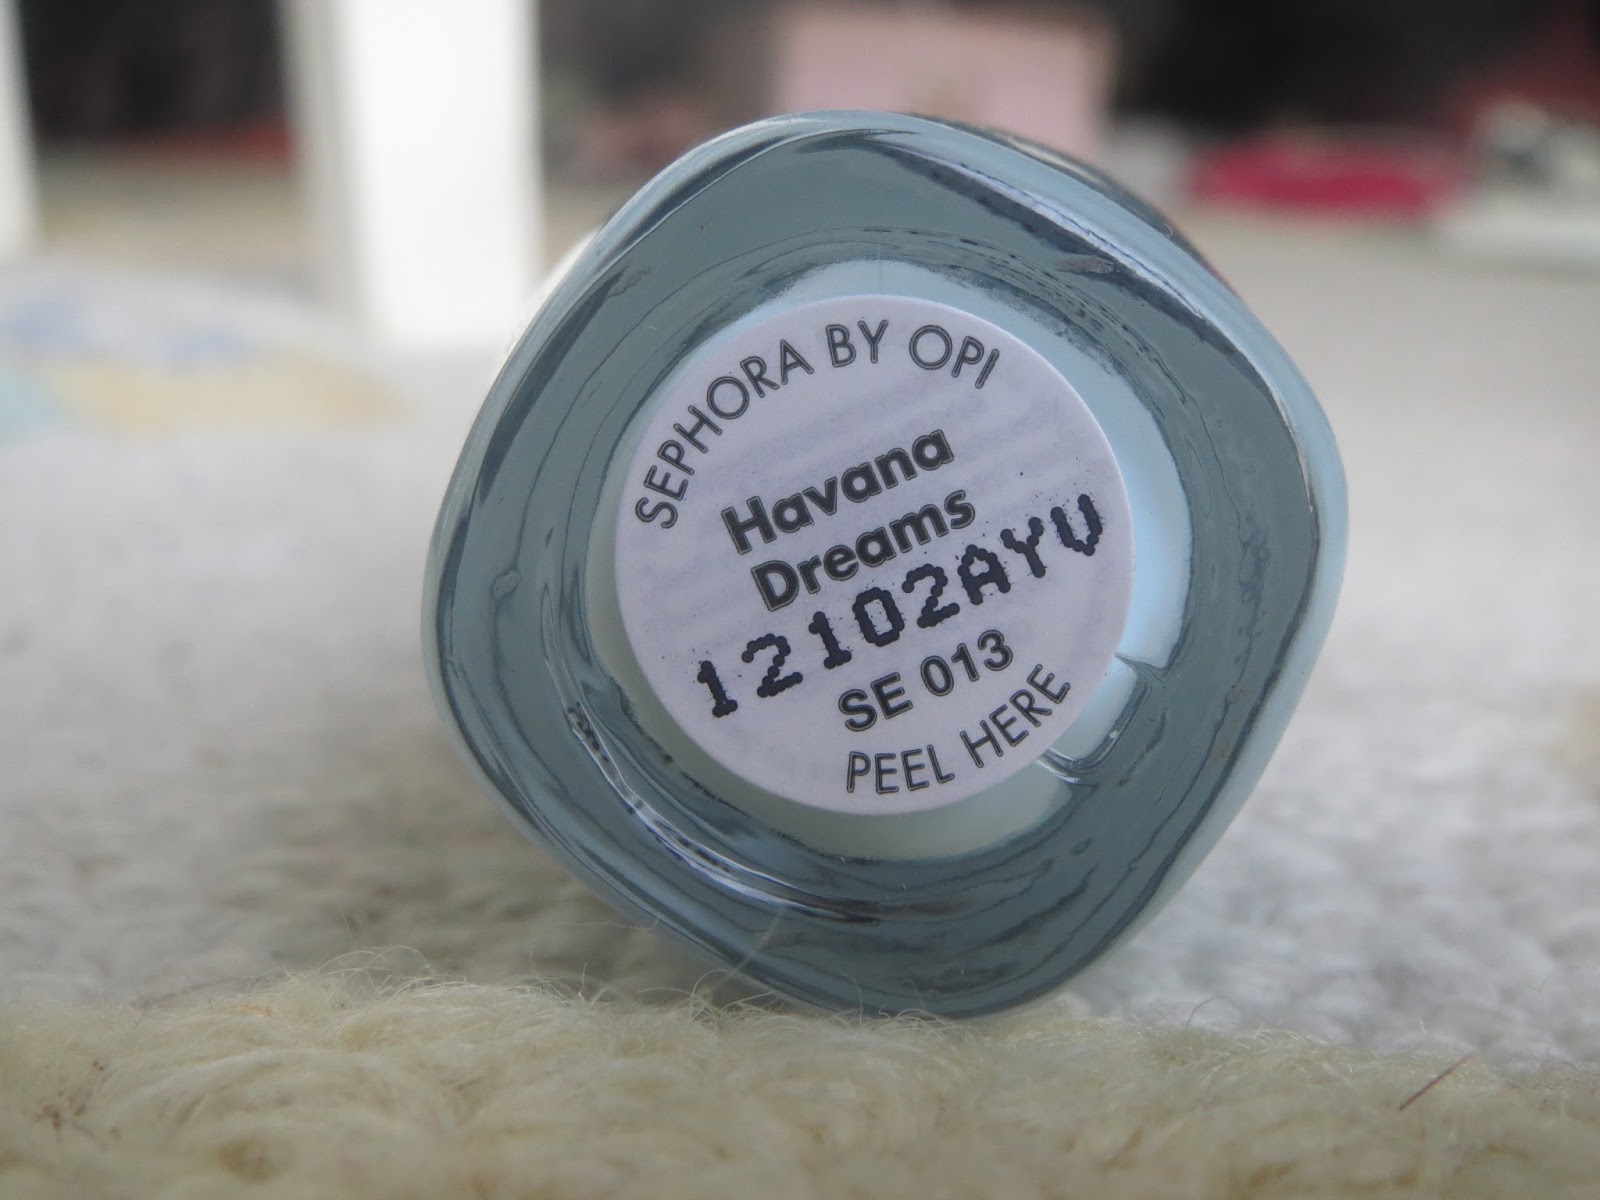
NOTD | Sephora by OPI 'Havana Dreams'


Another day, another nail polish. Today's shade comes from the wonderful world of Sephora. 'Havana Dreams' is an exclusive from the Sephora by OPI range.


Sephora describes 'Havana Dreams' as a sheer pale sky blue. I don't deem this completely accurate as I see it more as a pale Tiffany Blue as there is definitely a hint of green in this shade. For some reason 'sea-foam' springs to mind here. Anyway, enough with my rambling, you can decide what colour this is for yourself!

I didn't have great expectations for the quality of the actual polish as often side ranges of OPI aren't as good quality as the main line (take Nicole by OPI for example) but I was pleasantly surprised. The shade was very opaque and only took two coats to reach full opacity. Definitely a winner in my books!


I'd definitely recommend this shade as it's perfect for the end of Summer time and really accentuates a tan! If you're lucky enough to live near a Sephora, nab it up quickly as the Sephora by OPI range is currently less than half price- all the more reason to buy it!

Sephora by OPI - Currently on sale for $4.50 (usually $9.50) here (USA)
If you live in the UK/Ireland have a look on eBay for the range- link


Have you tried any Sephora by OPI shades?


post signature

Wednesday, 17 July 2013

Review + Swatches | Selena Gomez for Nicole by OPI in 'Inner Sparkle'


As you may know, I am just back from a holiday in Florida. Whilst I was there I was lucky enough to pick up a few beauty products. The prices there are incredibly cheaper than here in Ireland, especially in terms of beauty products. One item I picked up was a nail polish from Selena Gomez's range for Nicole by OPI. I love me a bit of sparkle, and this shade, appropriately named 'Inner Sparkle', instantly caught my eye.


This is polish is packed with glitter. It includes fine gold glitter, along with larger glitter pieces of pink and purple. It is definitely a shade for girly, glitter lovers! I think this shade would definitely work better as a top coat, to add a bit of pizazz (did I really just say pizazz?!) to any simple nail colour. As with most glitter polishes, it takes quite a few coats to build up. The below swatch took approximately 4 thick coats. It did look very pretty once applied, and the photo really doesn't do the shade justice. I received a lot of compliments too which is always a good sign! 


In short, this is a very pretty shade that would be a lovely addition to any nail polish collection. Is it an essential, ground-breaking polish (not that I know any polish that could really be considered "ground-breaking")? no. However, if you're a lover of all things sparkly, I'd definitely check this polish out.

I picked this up at Target $7.04.
Unfortunately this is not yet available in UK/Ireland as far as I know.


post signature

Sunday, 24 March 2013

NOTD: Understated Glamour


Hey Beauties,

You know when you just love your nail polish and can't stop looking at your nails? That was the case with this nail look that I have entitled "Understated Glamour", very classy I know. 


I used the polish "Studio Mama" from the Justin Bieber for Nicole by OPI collection. I love this colour, almost as much as I love the Biebs himself! It comes across as white in the photo but in actual fact, it's a very very pale pink. It's so gorgeous and would really accentuate a tan (Summer, please hurry up!). The only downside, is that it isn't very opaque and takes about 3 coats to build up.

Of course, I needed to add a bit of sparkle to my nails. The best way to add glitter without going over the top, is be adding a glitter accent on your ring finger. I used the gorgeous "Set in Stones" by Essie. It is a jam packed thick silver glitter polish. It's great because unlike a lot of glitter polishes, it builds up very quickly and only needs 1-2 coats.


  post signature

Sunday, 10 February 2013

NOTD: Pretty Bow Nail Art Tutorial

Hello Lovelies,


If you read a recent post of mine, about my obsession with nail art (check it out here), then you know that I've been trying out some new designs and artistic creations (ahem) on my nails! Recently, I did some bow nail art and thought I'd share it with you all.

1. I started by painting every second nail in Essie's Mint Candy Apple. It is a cult shade here in the beauty world, and I love it! The picture really doesn't do it justice. It's a fabulous mint green that looks especially great with a tan. 
2. I then painted every other nail in Essie's Bikini So Teeny. Another great bright pastel shade in a blue-purple tone. It is also packed with extremely subtle iridescent glitter. 

3. After they were dry, I went on to the tricky part, the bows! I took a very thin nail art brush and drew tiny white bows near the tip of every nail. I used MAC Vestral White polish.

4. After allowing the bows to dry, I outlined them in black with the same nail art brush. I used Essie's Licorice shade. 
I hope you enjoyed this NOTD and mini tutorial. For a more in depth tutorial, check out the WAH book of nail art. 

P.S Don't forget to enter my MAC Giveaway! Check it out here.


post signature